|
|
 |
|
|
Beginner Hand Tools: Measuring & Marking |
|
|
|
Measure twice and cut once is the mantra we hear about woodworking or any DIY project, but gauging size or distance a hundred times with a bad or outta-whack measuring device will give you bad results.
While I advocate buying power tools that you can afford, then stepping up, I firmly believe that you should purchase quality measuring tools right out of the gate. Below are a few to get you started as a beginner.
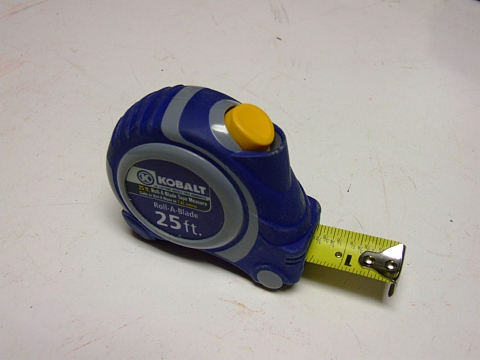
Measuring tapes
Unless it looks brand new, don't pick up a secondhand measuring tape at a garage sale or flea market, another tip I recommend for power tools. Tapes are generally affordable enough to buy brand new. For woodworking, you're a generally going to be fine using a 12- or 16-foot tape. For general, all-purpose DIY work, grab a longer tape. I tend to keep one tape just for woodworking, and another for any household projects.
Always, ALWAYS use the same tape throughout the course of a project - don't switch back and forth between different tapes.
A basic 16-foot tape can run $6-$10.
|
|
|
|
|
|
 |
|
|
|
|
|
|
measuring tape
|
|
|
|
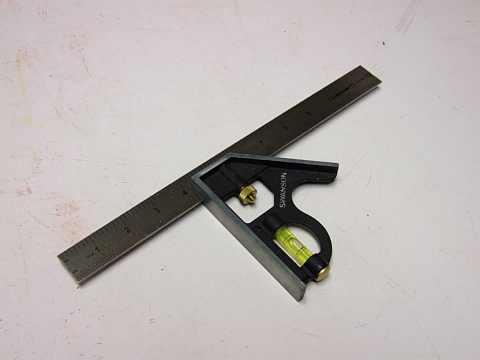
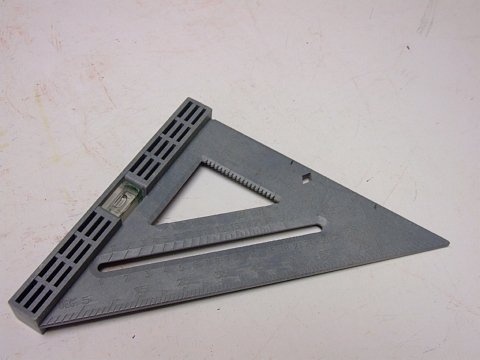
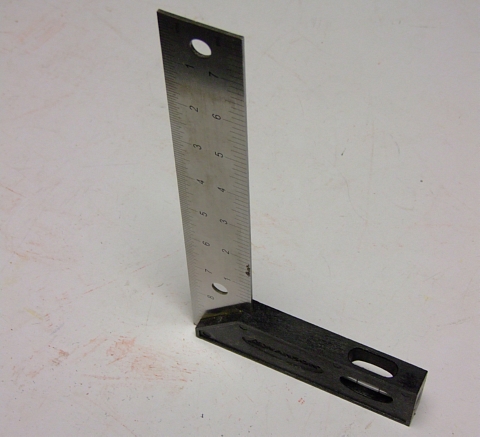
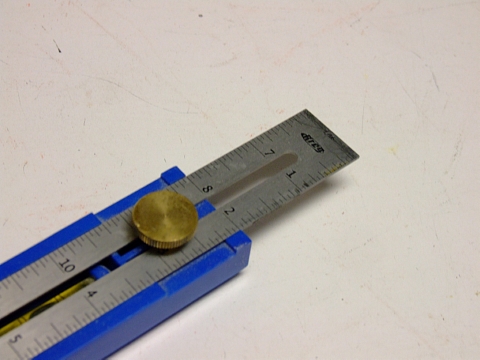
Squares
These are big time workhorses in my shop, including a 48-inch T-square, framing/carpenter squares, combination square, Swanson Speedlite square, tri-square/engineer square, and the relatively new Multi-Mark from Kreg(R). I recommend all of these and I recommend you treat them with care, particularly the framing/carpenter squares, as they can become warped or dented with misuse and/or storing them improperly.
Start off with a Swanson 8-inch Speedlite square, which you can pick up for about $4. That'll help you with marking for cross cuts as well as serving as a straightedge guide for a circular saw..
|
|
|
|
 |
|
|
combination square
|
|
|
|
 |
|
|
Swanson Speedlite square
|
|
|
|
 |
|
|
tri-square
|
|
|
|
 |
|
|
Multi-Mark
|
|
|
|
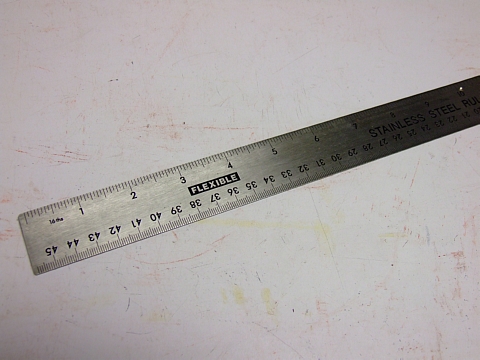
Rulers
A good 12-inch wood ruler with a metal edge can serve you well in the shop. It's a good place to start and can be picked up anywhere (just about). I also use an 18-inch flexible metal ruler, which also can be used for creating arcs and curves. For larger purposes, such as marking long tapers, I occasionally use a 36- or a 48-inch metal ruler. And every once in a while I pull out the old folding ruler.
If you're choosing one, grab the 18-inch flexible metal ruler, which you can pick up for just a couple of bucks.
|
|
|
|
 |
|
|
flexible metal ruler
|
|
|
|
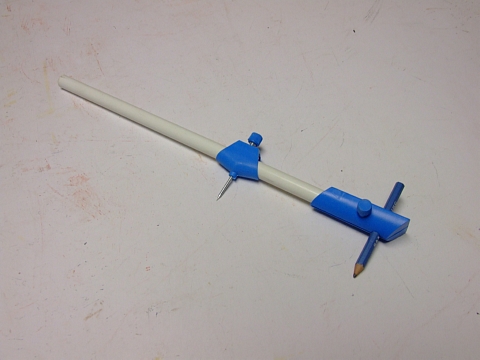
Compass
Once a staple on every kid's school supply list, a compass should be part of your measuring and marking kit. You'll need it for arcs, circles, and curves. A quality compass (you can spend up to $5) that allows you to lock the distance in place is a must. A beam compass is good to have as well for larger measurements. Look to spend about $8 for one.
|
|
|
|
 |
|
|
beam compass
|
|
|
|
Pencil
The ubiquitous carpenter's pencil that's been used for decades. I keep several in the shop, even a semi-mechanical one (new lead is fed through the back end of the pencil). But I also keep standard #2 pencils, in addition to a 0.9 mm mechanical pencil. I use all three depending on the project.
The use of mechanical pencils in the shop is a bit contentious and I agree that anything smaller than a 0.9 mm lead isn't recommended. But I use my 0.9 mm more than any other.
I've also used a white color pencil on treated lumber that was a bit dark - it's much easier to read than standard lead.
|
|
|
|
 |
|
|
refillable carpenters pencil
|
|
|
 |
|
| (C) Chris Hill/Chiefs Shop 2009-2014 |
|
|
|
|