|
|
 |
|
|
Quick Look: Kreg Jig® K5 Pocket Hole Jig |
|
|
|
|
From looking at my plans, you can tell I'm no stranger to using pocket hole joinery and that I clearly like it. A lot. It's quick, it's easy, and it helps build confidence in beginner and intermediate woodworkers. Plus, advanced folks like to use it too, even though some won't want to admit it.
Here's my quick look at what Kreg calls "the most advanced Kreg Jig yet".
|
|
|
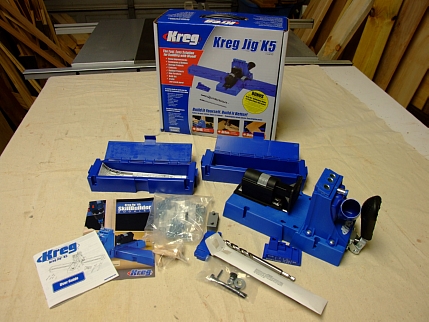
Kreg Jig® K5
MSRP $139.99
Bonuses: SkillBuilderTM booklet, with links to how-to videos and free project plans; assortment of screws; several pocket hole plugs
More Info: http://www.kregtool.com/Kreg-Jig-K5-Prodview.html
|
|
|
|
 |
|
|
|
Adjusting the Drill Guide
The drill-guide locking pin now just pulls out, rather than being unscrewed as in the previous version. It's easier and much faster and still uses stops matching the thickness of the lumber.
|
|
|
|
 |
|
|
|
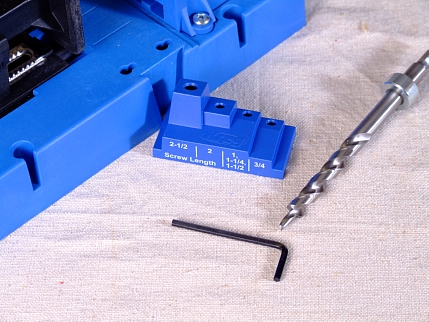
Adjusting the Drill Bit
The included bit has a quick change end, which is an improvement for speed. This bit had been previously available.
To set the position for the stop collar (and the proper depth for the bit), this jig uses a stop-collar setting block. This block has markings that match the length of the screw to be used, rather than the thickness of the lumber. Place the block at the base of the jig, insert the bit into a drill guide and the top into the appropriate hole on the block, then set the stop collar flush against the top of the jig and tighten.
|
|
|
|
 |
|
|
|
 |
|
|
|
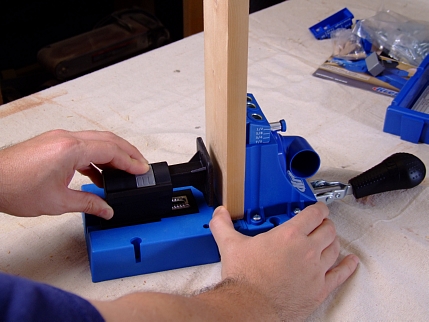
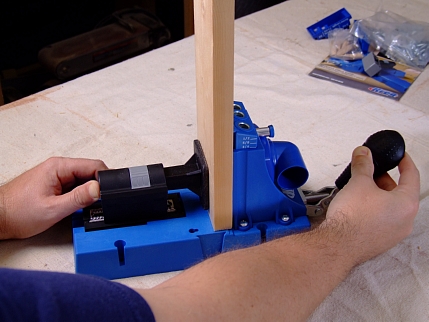
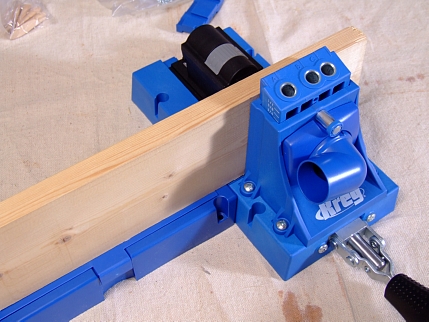
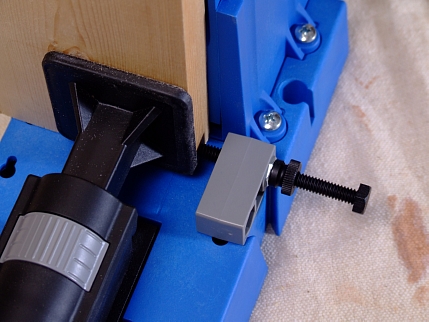
Adjusting the Clamp
This is one of the bigger changes for the jig. The face of the clamp is much larger and is square, rather than being round. Gone is the screw-type adjustment. Now there are a series of steps to follow that I found to be much faster. There is simply a button to press, call the ratchet release, which allows you to move the clamp assembly over a series of stops. You set the lumber in place, with the toggle handle in the clamped position, and slide the clamp assembly flush against the lumber. Hold the assembly in place (you'll need to apply some pressure), then lift the handle until it clicks twice. You're set.
|
|
|
|
 |
|
|
|
 |
|
|
|
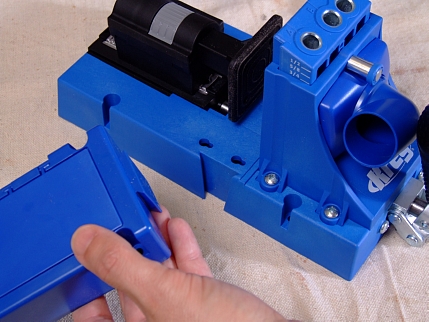
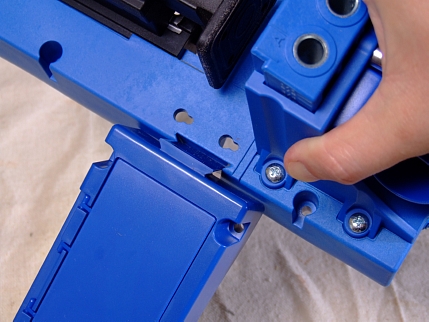
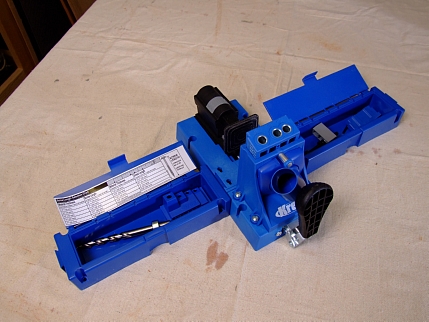
Extensions
I had an older version years ago that had extensions that helped support wide pieces of lumber, or pieces set on their edge. I really missed that (I gave the jig to a friend when I got a new one), so I'm glad to see the feature return. What's even better, these extensions have cavities inside for storage. Included in the packaging is a sticker you can place inside the lid of one of the extensions. It's a "Screw Length" Selection Chart that lists the proper screw length for thickness of lumber.
The extensions have tabs on the end that fit into slots on the main jig.
|
|
|
|
 |
|
|
|
 |
|
|
|
 |
|
|
|
 |
|
|
|
 |
|
|
|
Workpiece Stop
This additional part, which sets in place on the jig, is for use when making a series of pocket holes in the same spot on multiple boards. It's easy to adjust and can be set in place and removed quickly.
|
|
|
|
 |
|
|
|
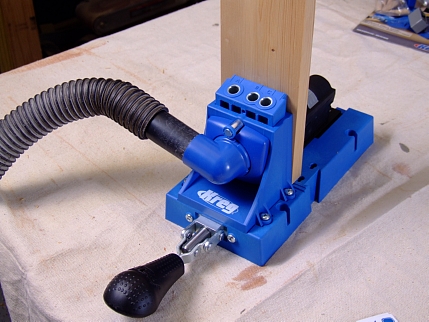
Vacuum Port
This has been available on previous models, and I have to admit that I don't use it. In my shop, I found having the hose hooked up to it just got in the way. The new port now swivels back and forth, which would make it easier to position the hose as needed.
|
|
|
|
 |
|
|
|
General
As with previous models, you can remove the drill guide and use the jig in freestanding applications. Included are spacker blocks for making adjustments to stock thickness.
The jig itself and the extensions have screw holes for mounting to a stand or sheet of plywood (how I keep mine).
Overall Assessment
I like this new model and will be using it as my primary pocket hole jig, so perhaps another friend will be getting a hand-me-down.
What I Like: How the drill guide and drill clamp are adjusted, the new clamp design, the extensions and storage, the workpiece stop.
What's I Think Is Just OK: How the drill bit is adjusted. I'm used to material thickness as a guide, and using the built in slot on the jig as a guide. While the new stop-collar setting block works fine and matches the setting you'll get using the old guide, it's another part to make sure you don't lose. But that's not a problem if you remember to keep it in the storage compartments of the extensions. Over time, I'm sure I'll get used to this new feature.
What Gave Me Trouble: The vacuum port. Like I stated before, I don't use this feature on my old jig. When I tested the new jig any time that I bumped my vacuum hose, it knocked the vacuum port loose. It snapped right back into place, but I really had to watch how my hose was positioned. Keeping it perfecting parallel with the vacuum port caused no problem. If the hose was coming away from the jig at a slight angle, it would sometimes pull off the port. Not every time, but enough that I took notice.
Is it a buy?
Yes. The extensions (and their storage), and the drill clamp adjustment are the two biggest draws for me. The extensions are time savers when working on big pieces -- you know what I'm talking about if you've ever created set up blocks to balance long pieces. The clamp adjustment is a major improvement that'll you appreciate when working on a project with parts that are of different thicknesses. It's a vast improvement over having to spin the plunger and making micro adjustments to get it just right.
|
|
|
|
|
|
|
 |
|
 |
|
| (C) Chris Hill/Chiefs Shop 2009-2014 |
|
|
|
|